Stickers are visual elements that convey a message or evoke a feeling. Their applications in design and photography are vast, ranging from personal projects to professional branding.
In this guide, we'll explore how AI image editing tools, such as AI Image Editor, can elevate your sticker designs. Whether you're a photographer or designer, our three tools can seamlessly integrate into your sticker-making process.

- Imagewith.AI Outcut: a remove background tool that ensures precise sticker extraction
- Imagewith.AI Clearoff: remove unwanted objects to enhance the overall aesthetics of your creations
- Imagewith.AI Overscale: an image upscaling tool for resizing stickers to bigger prints
Before diving into the specifics, let's establish a foundation for sticker creation.
Basics of Sticker Making
The most common use of stickers is branding and logo presentation. Placing logo stickers on objects is a subtle way to promote your brand for others to see.
Businesses, from small companies to big corporations, give away stickers as marketing materials for free advertising. Promotions for upcoming events print stickers to spread awareness and gather more leads before the official launch. Entertainment companies also sell stickers as fan merchandise to boost sales.
At home, you can use sticker labels to organize your stuff. You can also personalize your belongings by adding stickers to photography equipment, laptops, and bags.
These are just a few reasons sticker-making can make a profitable business. To get you started, let’s go over the essential materials.
Materials You Need To Make Stickers
- Printer with color capabilities

Next, you’ll consider the ink cartridges. A 4-color inkjet printer with 1200 dpi print resolution produces decent sticker prints. But if you want more vibrant colors that make your stickers pop, consider a printer with no less than six cartridges.
Then there’s print volume. Consider printers with automatic feeders for easy loading if you handle bulk printing.
- High-quality paper or sticker sheets

Sticker sheets can be paper or plastic.
Paper stickers are well-suited for indoor and short-term applications, offering a choice between matte and glossy finishes. On the other hand, vinyl stickers are highly durable, weather-resistant, and suitable for long-term outdoor use, with options for matte, glossy, and clear finishes.
Note: Check whether your sticker sheets suit your type of printer. You don’t want your regular sticker paper to melt in laser jet printers! Remember — inkjet sticker paper for inkjet printers, laser sticker paper for laser jet printers.
- Cutting tools
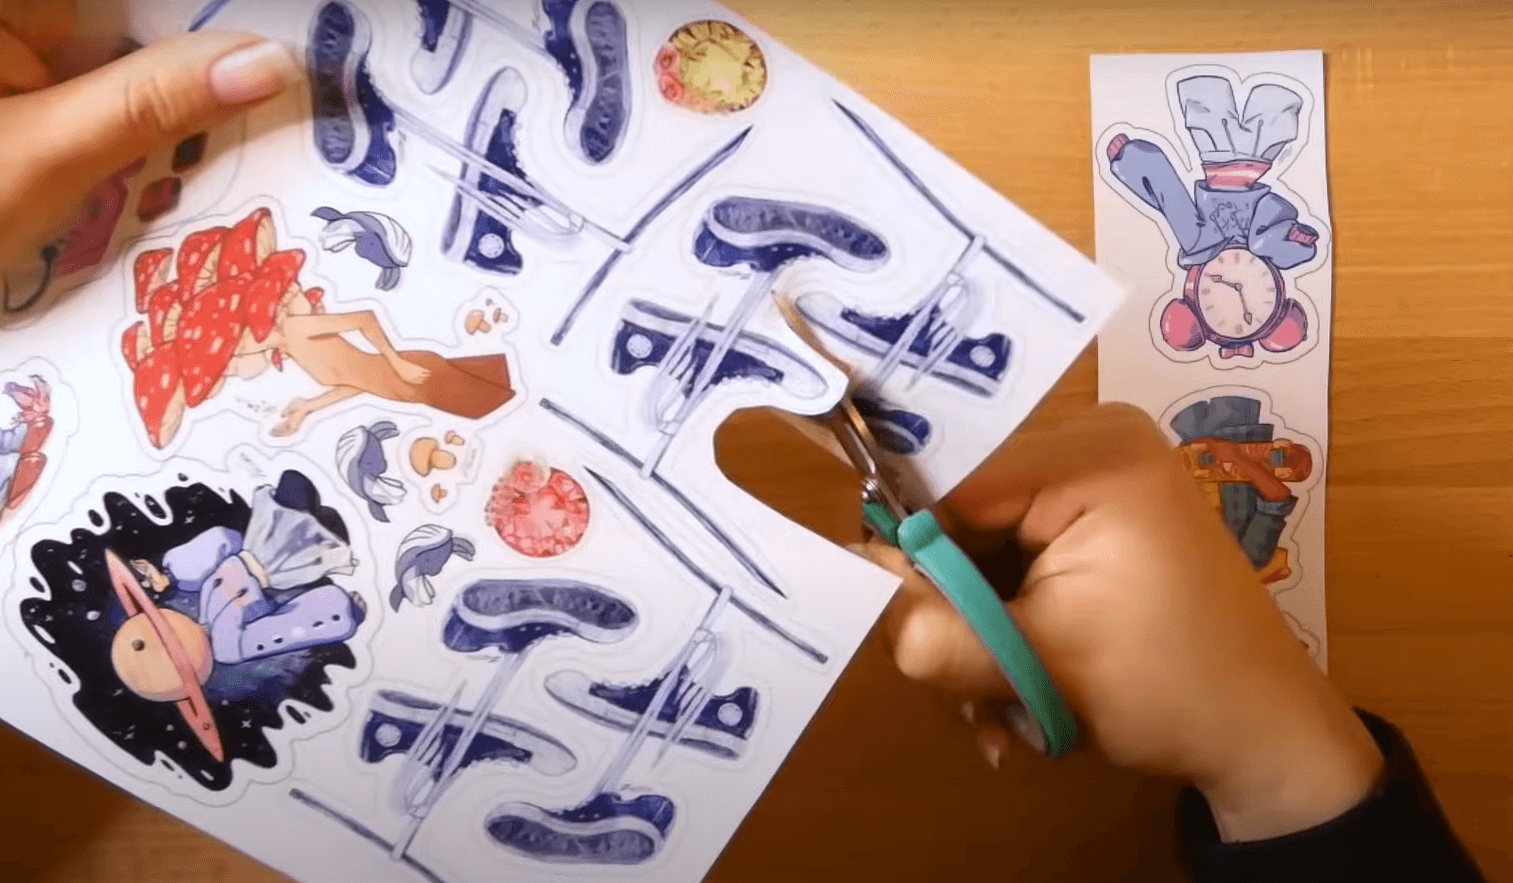


For homemade or DIY projects, scissors can do the job. But for bulk printing, best to invest in a cutting machine for quick, precise work.
- Laminating machine, adhesives, or clear tape

Preserve your stickers, especially those made of paper, by adding a protective layer using a laminating machine or adhesive lamination sheets.
- Graphic design or photo editing tools

Create your sticker design from scratch or enhance your photos with software tools such as Photoshop, Canva, or AI photo enhancers like AI Image Editor.
After you complete this checklist, you’re ready. Time to create your sticker designs!
How To Make Stickers: A Step-By-Step Guide
Whether you're a photographer, designer, or simply someone keen on DIY projects, making your own stickers is a creative process. Explore the following guides and bring your unique sticker creations to life.
Making Stickers From Photos
As a photographer or designer, you've likely encountered the desire to transform your carefully composed shots into personalized stickers. In this guide, you’ll learn how to make stickers from photos using background removal tools.
Step 1: Choose Your Photo
Select a high-resolution photo, preferably with a well-defined subject, to transform into a sticker.
Step 2: Extract the Subject
Use background removal tools to extract the subject to make your stickers pop. You can do this using Photoshop or photo enhancer tools. Let’s illustrate by example using Imagewith.AI’s Outcut tool.

Launch the AI image editor and upload your chosen photo. Wait a few seconds and then download the edited photo.


Step 4: Refine the Edges (Optional)
Use Imagewith.AI Clearoff tool or any photo editing tool to remove unwanted objects and refine the edges of your subject if needed. This ensures a clean and polished look for your sticker.
Step 5: Save Your Sticker
Once satisfied with the result, save your sticker in your preferred format. PNG is recommended for maintaining transparency.
You can repeat this process in just a few minutes for up to 10 photos per day with a free account. If you want to work with more photos, subscribe for a monthly plan as low as $0.09 per edit.
Making Stickers on iPhone
Live stickers are on trend these days, especially in messaging apps. Elevate your messaging and creative expression with live stickers on your iPhone. Follow this guide to infuse life into your designs:
Step 1: Choose Live Photo
Select a Live Photo from your gallery or capture a new one using your iPhone. Live Photos add a dynamic element to your stickers.
Step 2: Add Sticker
Long press on the subject until you see an outline form around it. Choose the ‘Add Sticker’ option. (Note: this works with iOS 17 version)

Step 3: Add Sticker Effects

From your sticker drawer, tap on the subject and select the ‘Add Effect’ option. Explore which style you like, from Outline, Comic, Puffy, to Shiny.

Once satisfied with your animated sticker, tap on ‘Done’.
Step 4: Save and Share
Your live stickers are saved on iCloud. Use them across different devices by signing in to your Apple ID. Add live stickers on photos, documents, and screenshots using Markup.
BONUS Step: Make Custom Stickers on WhatsApp
Make your conversations dynamic and visually engaging with custom stickers. In Step 2, select ‘Copy’ instead of ‘Add Sticker’. Then, open your WhatsApp on your iPhone and choose any chat message.
Long press on the message box until you see the ‘Paste’ option. Alternatively, you can drag and drop the copied photo to the WhatsApp message. Wait for a few seconds to load the media. And then voila — your customer sticker is ready to use!

Hit the ‘Send’ button. See what it looks like in a chat message below.

WhatsApp automatically saves your custom sticker in your sticker library for future use.
Making Stickers Online
If you’re looking for an online editor that makes stickers because you don’t want to go through software installation, this guide is for you. Discover how you can use web-based sticker makers like Canva, for example.
How To Make Stickers Online Using Canva
With Canva’s user-friendly interface, ready-made templates, and versatile design tools, designers and entrepreneurs can craft visually stunning and personalized stickers.
Step 1: Create a Canva Account
If you don't have one already, sign up for a Canva account. It's free, and it’s a haven for aspiring graphic designers.
Step 2: Create a Design
Navigate to the "Create a design" section and choose a template suitable for your sticker. Canva offers preset dimensions or allows you to set custom dimensions.

Step 3: Upload Your Images
Click on the "Uploads" tab to upload the images you want to use for your stickers. You can also drag and drop the images on the canvas. Incorporate any visual elements you wish — artwork, personal photos, or graphics.

Step 4: Design Your Sticker
Use Canva's features to add text, overlays, shapes, or other creative elements. Experiment with colors, fonts, and styles. Crop, resize, or apply filters to enhance your sticker. Time to freestyle your sticker designs using Canva's editing tools to fine-tune your design.

In this example, we used the background removal tool and added shadows to create an outline for the sticker.
Step 5: Save Your Design
Once satisfied, click the download button, and save your sticker design to your device. Canva offers various file formats, choose the one that suits your needs.
Step 6: Print or Share
Print your stickers on high-quality paper or share them digitally. Canva allows you to save and export your designs in formats suitable for both print and online use.
Making Stickers Without A Machine
The absence of specialized equipment shouldn't hinder creativity. If you’re an artist with a limited budget or workspace, you can still make your own stickers at home using this DIY guide.
Step 1: Gather Materials
Don’t worry if you don’t have access to machinery such as cutting machines and laminating machines. Everyone starts with the basics — sticker sheets, color printer, scissors, and clear tape.
Step 2: Design Your Stickers
Use any of the methods we’ve covered in the previous sections using tools like Canva, AI Image Editor, and built-in iPhone features. Traditional drawing also works, but make sure you have a scanner (or phone camera scanner apps) to turn those drawings into digital file formats.
Step 3: Print and Cut
Print your designs on your chosen sticker sheet material. You can replace laminating machines by using self-adhesive laminating sheets or just clear tape. Without access to cutting tools, you can manually cut the stickers using scissors.


Turning Sticker-Making Into A Business
Artists can turn this sticker-making hobby into profit. A word of precaution though — like any business, starting a sticker business can be challenging.
To start your sticker business, you must consider marketing and sales. You’ll also have to arrange the product fulfillment and answer customer queries.
But before we go into all these, let’s start with the nitty-gritty — operations.
DIY Stickers From Home vs. Outsourcing
If you’re just starting in the business or brewing the thought, the easiest way to begin is DIY — doing it yourself at home.

Start making stickers from the comforts of your home as long as you have the essential materials covered. You don’t need a top-notch color printer and other machines yet. For example, you can make art by hand, and scan and print your designs.
Over time, when the volume of orders picks up and you feel the workload building up, that’s a telltale sign that it’s time to scale your business. Start by hiring partners that will do the labor work that you least like the most. For example, if you enjoy making art and want to spend more time on the designing process rather than manufacturing stickers, outsource your operations.
Outsourcing can save time, ensure product quality, and lower capital costs. Don't just settle for any manufacturer—find a partner who matches your quality standards and understands your brand's essence.
Marketing & Sales
The most cost-effective way of growing leads and building your customer base is by building an online presence.
Bring awareness to your leads and captivate them with your sticker designs. The ultimate goal, of course, is to lead them to your online store and close sales. Prepare your online payment channels, such as PayPal, Stripe, Venmo, etc., for your customers’ convenience.

You can also sell offline through wholesaling with retail stores, setting up your retail store, or a booth during events.
Fulfillment of Sticker Orders

Unboxing becomes a part of the customer experience—an opportunity to enchant and build brand loyalty. Elevate your packaging game by adding personal touches like custom stickers, handwritten notes, freebies, or exclusive promotions.
Once you turn over the sticker orders to mail couriers, you also hand over the logistics control to them. Be selective in choosing your delivery partners so you can still provide tracking information to keep customers informed about their orders.
Customer Service
Nurture customer relationships through responsive communication, quality assurance, and community engagement. Always remember that customers are the lifeline of any business.
Leverage social media not just for promotions, but as a hub for community engagement. Encourage your customers to share testimonials, leave a review, or post content featuring your stickers. Your customers aren't just buyers; they're part of an exclusive club passionate about your stickers.
Final Thoughts
From unlocking AI Image Editor’s magic to diving into the art of sticker-making, we've covered a lot. Whether you're wondering how to turn photos into stickers, creating magic on your iPhone, or exploring online sticker crafting, this comprehensive guide has your back.
Consider this a friendly guide, steering you through business essentials, marketing nuances, and the art of customer connection. Your stickers are more than adhesive wonders; may they also leave an indelible mark on hearts.
FAQs
- Can I use any type of photo to create a sticker?
Yes, you can use any high-resolution photo for sticker creation. However, photos with clear subjects and well-defined edges tend to produce the best results.
- What file format is recommended for saving stickers?
We recommend saving your stickers in PNG format to maintain transparency, especially when using the "Remove Background" tool.
- Can I use the AI image editor on different devices?
Absolutely! Imagewith.AI is accessible online, making it compatible with various devices, including computers, tablets, and smartphones.
- Do I need special equipment to print my own stickers?
While specialized equipment can enhance the printing process, you can print stickers using a standard color printer and high-quality sticker paper.
- Can I sell the stickers I create?
Absolutely! Many designers and photographers turn their sticker-making hobby into a business. Explore platforms like Etsy to showcase and sell your unique creations.
- How do I optimize my sticker designs for a business?
To optimize your designs for a business, identify a niche, use AI tools for efficient production, set up an online store, and implement effective marketing strategies to increase visibility and sales.
- Are there specific materials I should use for homemade stickers?
High-quality paper or sticker sheets, a color printer, cutting tools, laminating sheets, and graphic design tools are essential materials.
- Can I share stickers created on the AI image editor on social media?
Absolutely! Once you've created your stickers, feel free to share them on various social media platforms. Our editor allows you to save your designs for easy sharing.
- How do I get started with sticker making using AI tools?
To get started, explore the AI image editor with its streamlined tools — Imagewith.AI Outcut, Imagewith.AI Clearoff, and Imagewith.AI Overscale. There are also AI photo enhancers and editors available.


